If you have ever tried mixing mortar or tile adhesive with a regular drill, you already know how quickly things can go wrong. The drill overheats, the mix turns uneven, and instead of saving time, you end up fighting the tool.
Mixing might seem like a simple step, but it directly affects the quality of your installation. Poorly mixed mortar leads to weak bonding, inconsistent curing, and in some cases, complete failure of the project.
That is why professionals rely on proper mixing drills designed specifically for heavy materials like thinset, grout, and adhesives.
In this guide, I will walk you through the top mixing drills for mortar and adhesives, what real users say about them, and how to choose one that actually fits your work.
if you like see more post related to the tools, you can check here.
Why You Need a Proper Mixing Drill
Mixing mortar is not like mixing paint. It is heavier, thicker, and requires consistent torque.
A standard drill is not built for this kind of load. Over time, it can burn out the motor or struggle to maintain speed.
A proper mixing drill provides:
- High torque at low speeds
- Consistent mixing without air pockets
- Better control over thick materials
- Longer tool lifespan under heavy use
If you are doing more than a small DIY project, using the right drill makes a noticeable difference.
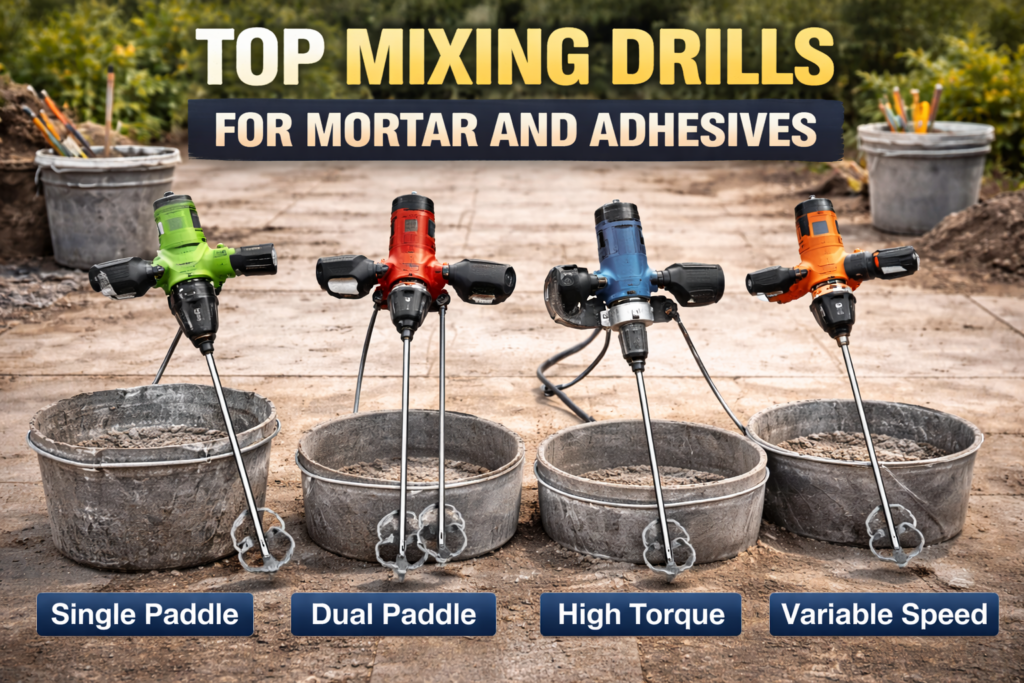
Top Mixing Drill Types for Mortar and Adhesives
1. Single Paddle Mixing Drill
This is the most common option for both professionals and serious DIY users.
Pros and Cons
| Pros | Cons |
|---|---|
| Easy to control | Can struggle with very large batches |
| Affordable | Slower for heavy loads |
| Good for most jobs | |
| Lightweight compared to larger units |
Real User Feedback
Users often say single paddle drills are perfect for tile work and small to medium projects. They are easy to handle and provide enough power for standard mortar mixing. Some users mention that they can feel underpowered when mixing large quantities.
Single paddle Drill |
|---|
 |
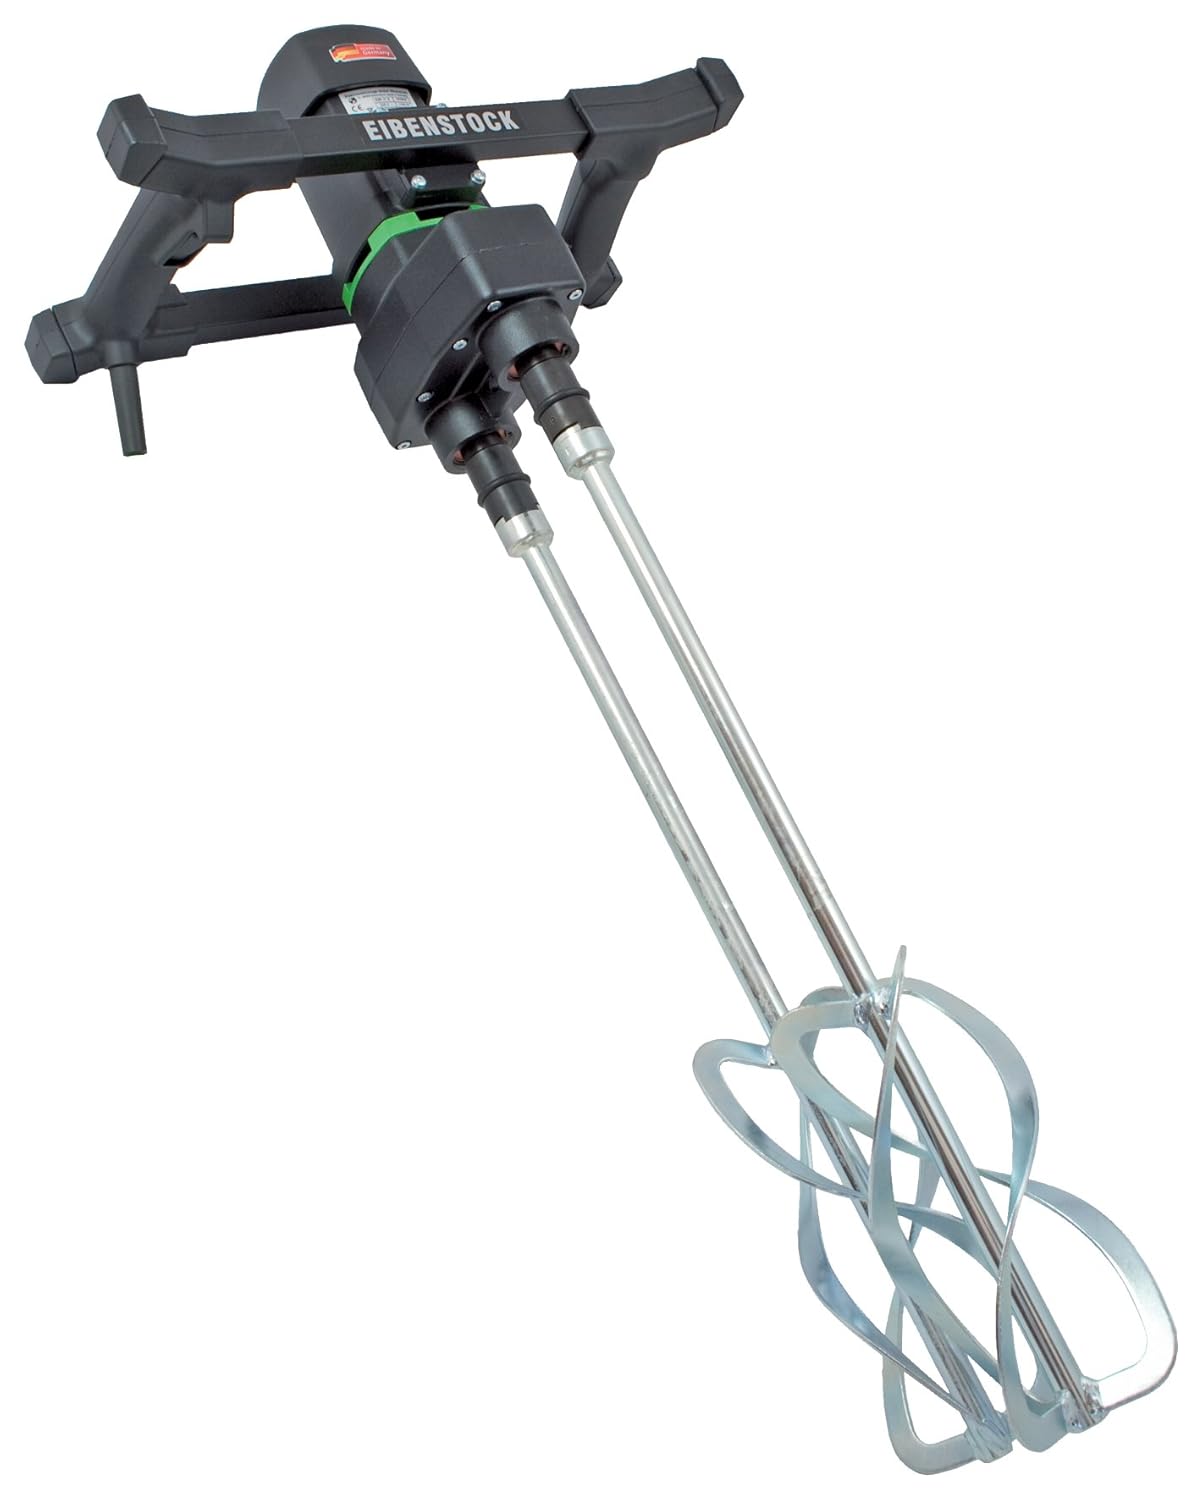
2. Dual Paddle Mixing Drill
Designed for heavy duty mixing, especially for large batches of mortar or adhesive.
Pros and Cons
| Pros | Cons |
|---|---|
| Extremely powerful | Heavier and harder to handle |
| Faster mixing | More expensive |
| Balanced operation | |
| Ideal for large jobs |
Real User Feedback
Professionals who work on large projects often prefer dual paddle mixers. Users mention smoother mixing and less strain on the motor. However, beginners sometimes find them bulky and harder to control.
Dual paddle Drill |
|---|
 |
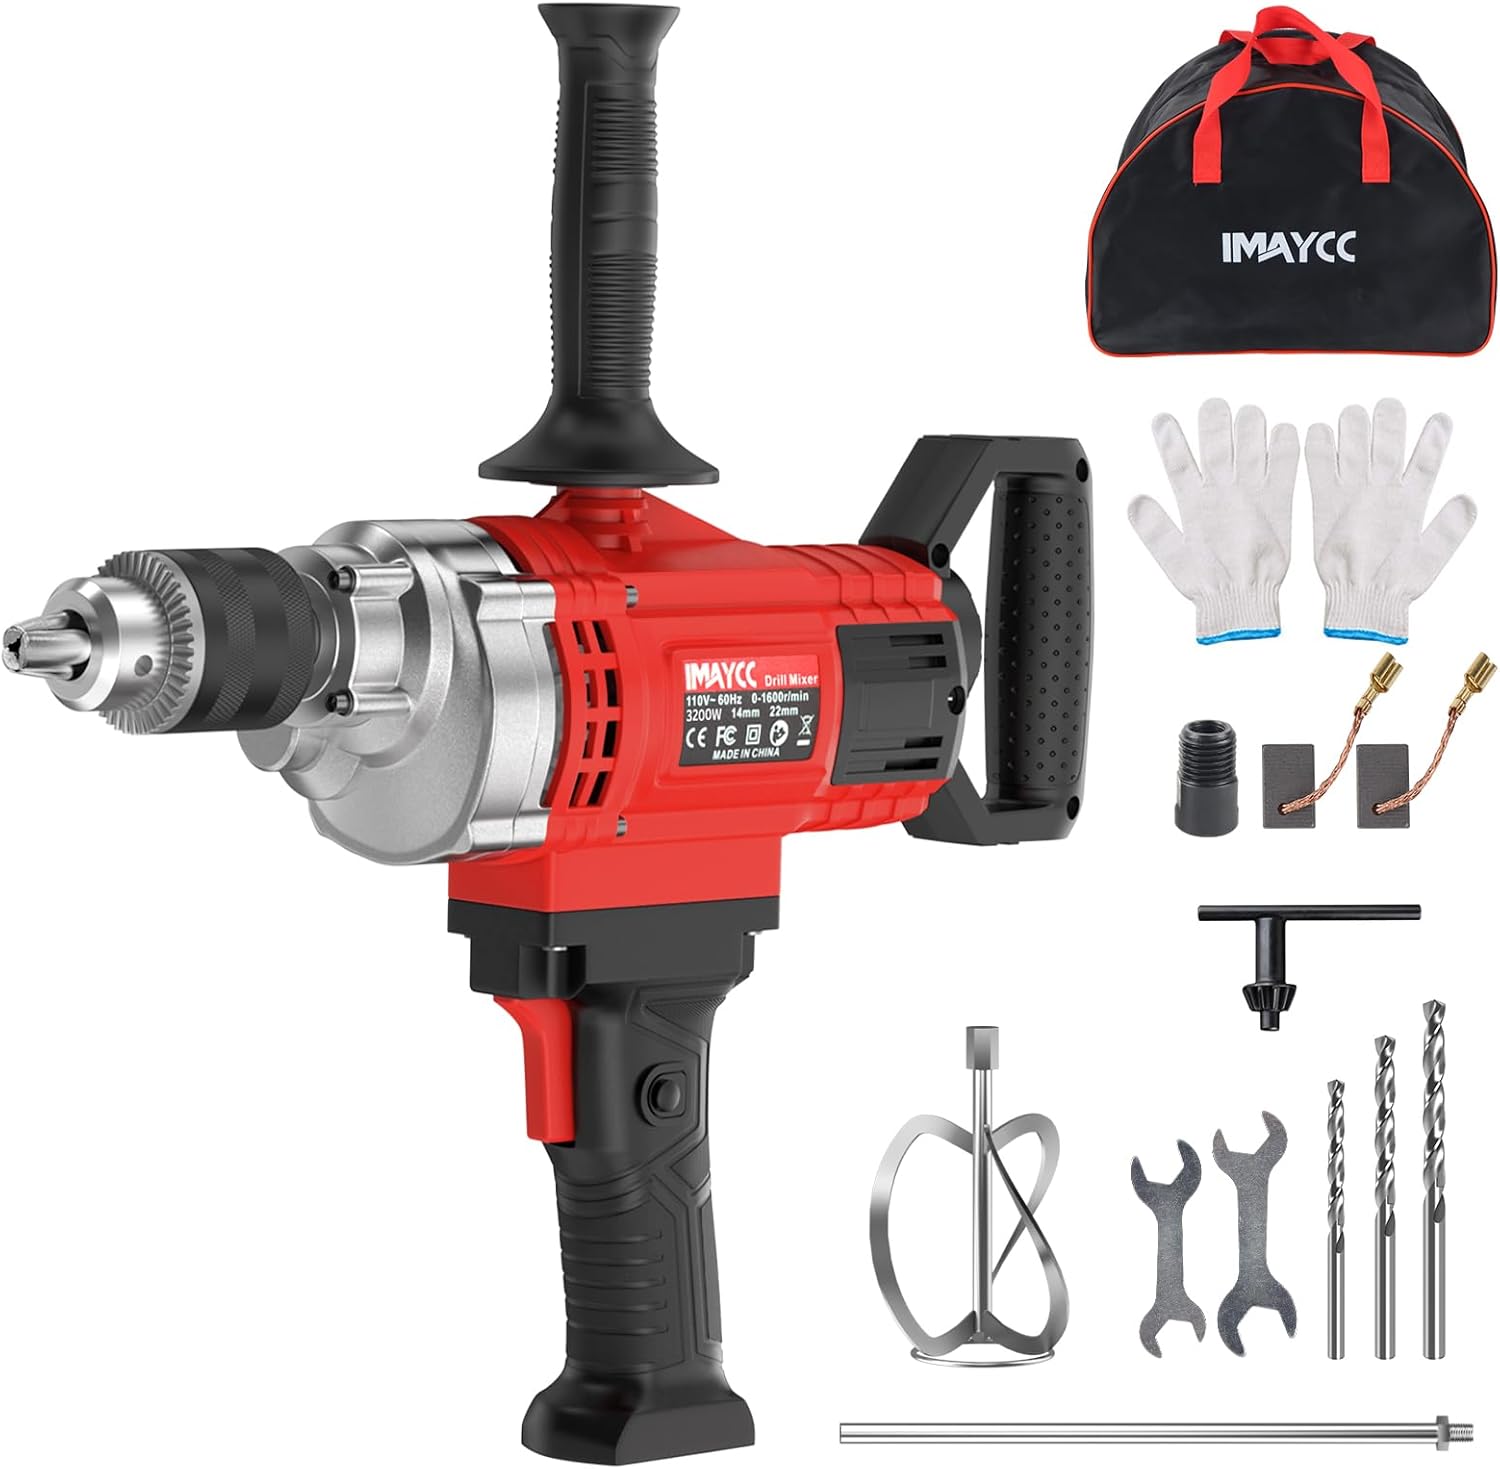
3. High Torque Drill with Mixing Attachment
Some users adapt heavy duty drills with mixing paddles.
Pros and Cons
| Pros | Cons |
|---|---|
| Multi purpose tool | Not designed specifically for mixing |
| Lower initial cost | Can overheat |
| Convenient for occasional use | |
| Less consistent performance |
Real User Feedback
DIY users often start with this setup. While it works for small jobs, many report overheating or inconsistent mixing with thicker materials. Most upgrade to dedicated mixers after a few projects.
Hi Torque Drill |
|---|
 |
4. Variable Speed Mixing Drill
Speed control is one of the most important features when mixing adhesives.
Pros and Cons
| Pros | Cons |
|---|---|
| Better control over consistency | Slightly higher cost |
| Reduces splashing | |
| Improves mixing quality | |
| Works with different materials |
Real User Feedback
Users consistently highlight variable speed as a must have feature. It allows slow starts and gradual mixing, which prevents lumps and improves consistency.
Variable Speed Drill |
|---|
 |
How to Use a Mixing Drill Properly
Even the best mixing drill needs proper technique to deliver good results.
Step by step process:
- Add water first
This helps prevent dry clumps. - Add material gradually
Do not dump everything at once. - Start at low speed
Avoid splashing and air pockets. - Move the paddle evenly
Cover the entire bucket. - Mix for recommended time
Follow product instructions. - Let it rest if required
Some materials need a short rest before remixing.
Buying Guide: What to Look For
Power and torque
Mortar and adhesives require high torque. Look for tools designed for heavy materials.
Speed control
Variable speed is essential for proper mixing and control.
Build quality
Durability matters, especially for frequent use.
Handle design
Comfort becomes important during longer mixing sessions.
Paddle compatibility
Make sure the drill supports the right paddle size and type.
Common Mistakes to Avoid
- Using a regular drill for heavy mixing
- Mixing at high speed from the start
- Not following mixing ratios
- Overloading the tool
- Ignoring rest time for materials
Final Thoughts
A mixing drill might not be the most exciting tool, but it is one of the most important for flooring and hardscape work. It directly affects how well your materials perform.
For most users, a single paddle variable speed mixer offers the best balance. If you are working on larger projects regularly, upgrading to a dual paddle system can save time and effort.
The key is to match the tool to the workload. Once you do that, mixing becomes easier, faster, and much more consistent.
Disclaimer
This content is based on information from various sources and represents recommendations according to available data. Quality and correctness of products are the responsibility of manufacturers and sellers.
Leave a Reply