Outdoor tile projects look great when they are done right. Clean lines, solid joints, and a surface that feels built to last. But if you have ever seen grout cracking, washing out, or turning dark after a few months, you already know the weak point is not always the tile. It is often the grout.
Grout in outdoor conditions deals with much more stress than indoor installations. Heat, rain, humidity, and movement all affect performance. In places like South Florida, this becomes even more challenging because moisture and temperature shifts happen almost daily.
So choosing the right grout is not just a detail. It is what holds the entire surface together over time.
In this guide, I will break down the best grout for outdoor tiles based on durability, real user feedback, and practical performance. You will also learn how to apply it correctly and avoid the mistakes that cause early failure.
What Makes Outdoor Grout Durable
Before comparing options, it helps to understand what outdoor grout actually needs to handle.
Key requirements:
- Water resistance to prevent absorption and damage
- Flexibility to handle expansion and contraction
- Crack resistance under movement and load
- UV resistance to avoid fading and breakdown
- Mold and mildew resistance in humid conditions
If grout lacks any of these, it will likely fail sooner than expected.
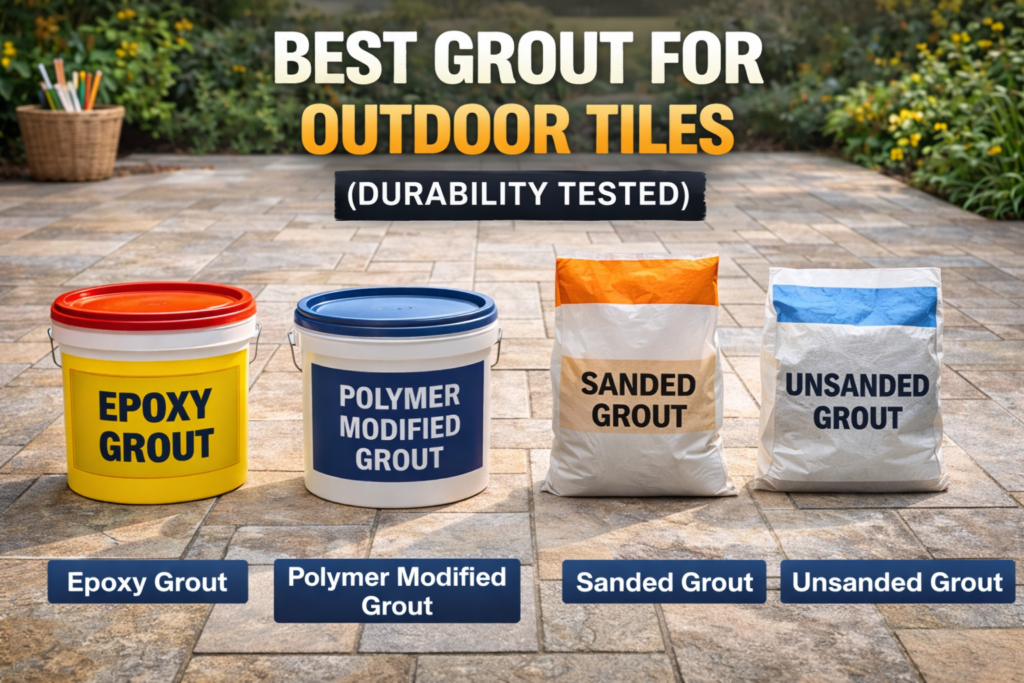
Best Types of Grout for Outdoor Tiles
1. Epoxy Grout
Epoxy grout is often considered the most durable option available.
It is made from resins and hardeners, creating a strong, waterproof bond that resists staining and cracking.
Pros and Cons
| Pros | Cons |
|---|---|
| Fully waterproof | Expensive |
| Extremely durable | Harder to apply |
| Stain and chemical resistant | Fast setting time |
| Minimal maintenance |
Real User Feedback
Users consistently mention that epoxy grout holds up exceptionally well in outdoor conditions. It does not absorb water and resists staining better than traditional grout. However, many say it requires experience to apply correctly, and mistakes can be difficult to fix.
Epoxy Grout | Grout Gun |
|---|---|
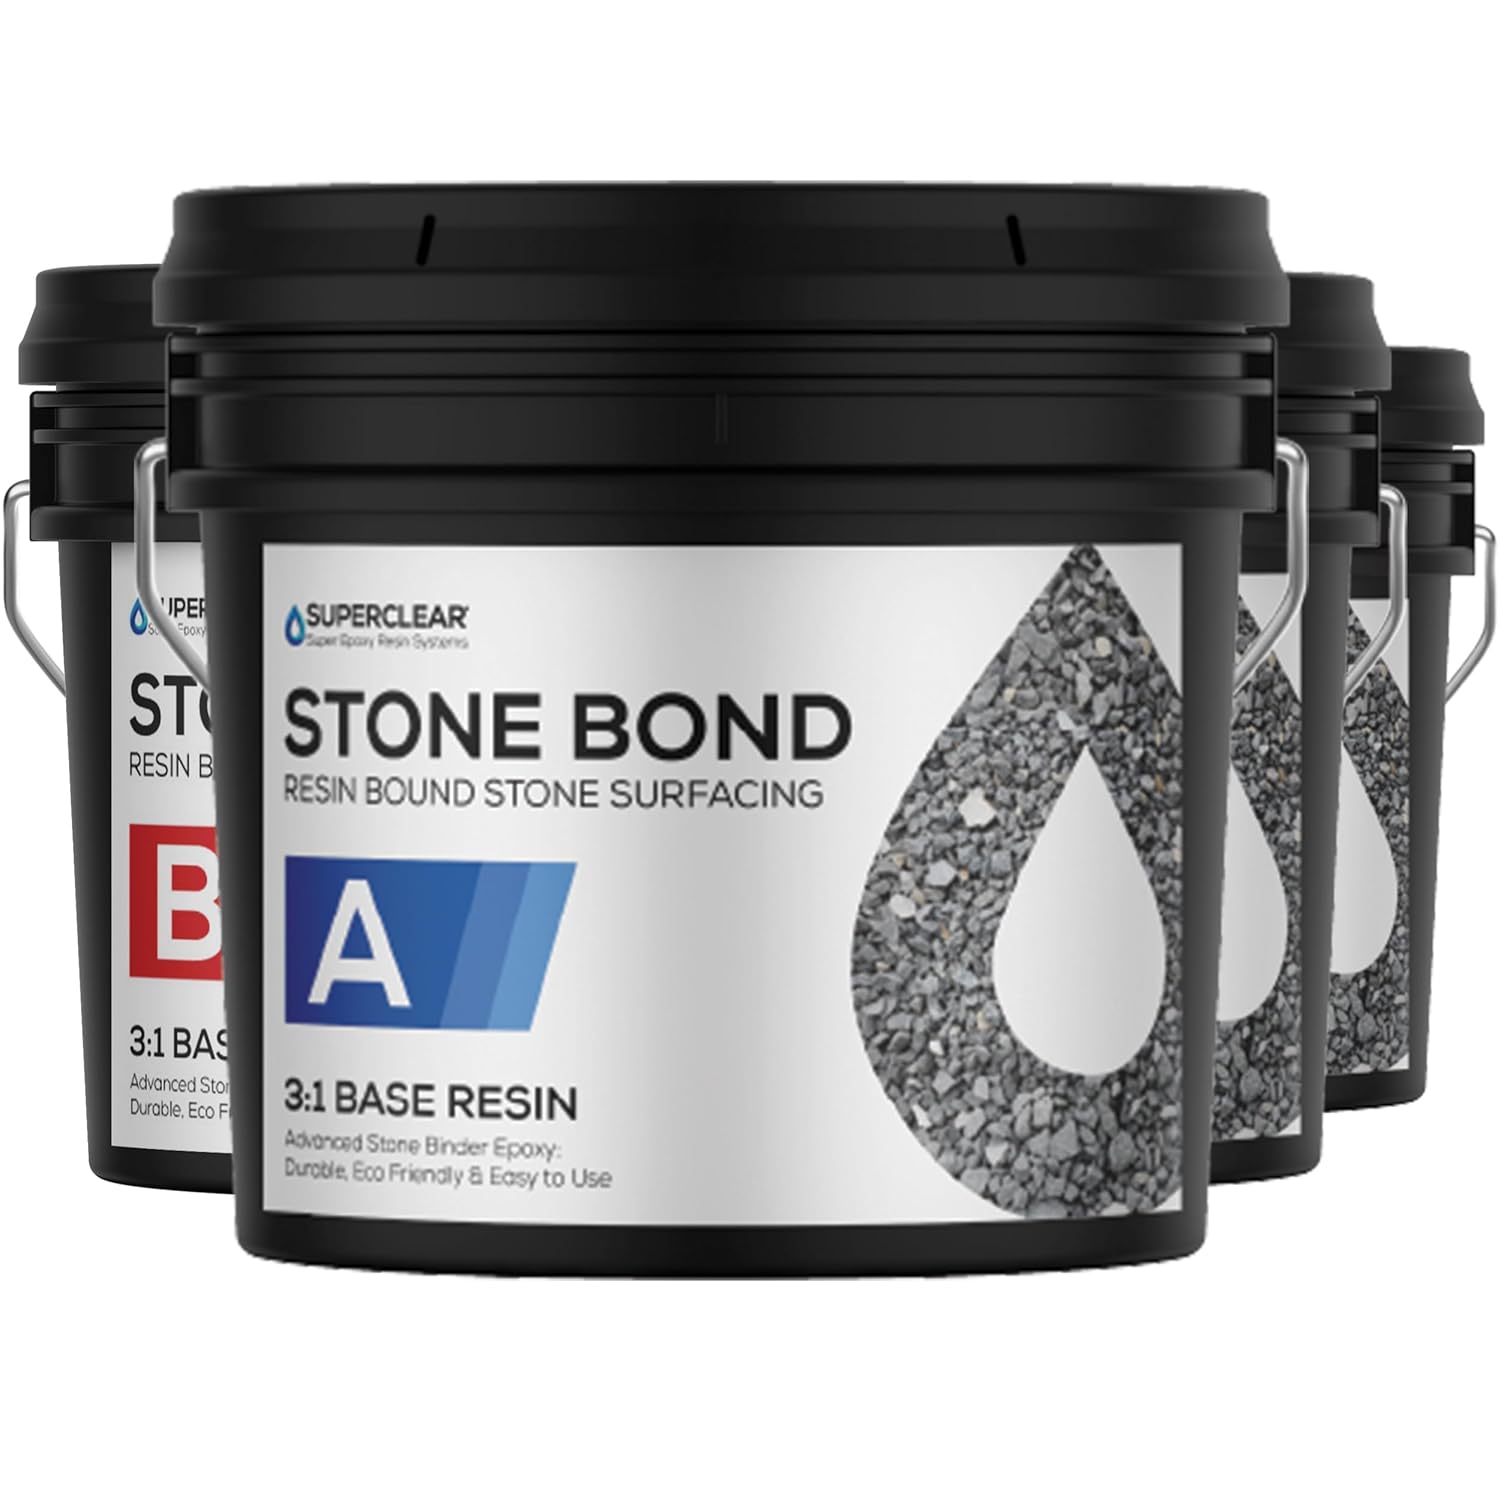 |  |
2. Polymer Modified Cement Grout
This is a more advanced version of traditional cement grout, enhanced with polymers for better performance.
Pros and Cons
| Pros | Cons |
|---|---|
| Improved flexibility | Not fully waterproof |
| More affordable than epoxy | Requires sealing |
| Good durability | |
| Easier to work with |
Real User Feedback
This type is widely used because it balances performance and ease of use. Users often say it performs well outdoors when sealed properly. Some mention that skipping sealing leads to moisture issues over time.
3. Sanded Grout
Sanded grout is commonly used for wider joints and outdoor installations.
Pros and Cons
| Pros | Cons |
|---|---|
| Strong for wide joints | Can be rough on delicate tiles |
| More crack resistant | Needs sealing |
| Affordable | |
| Widely available |
Real User Feedback
Users working with patios and walkways often prefer sanded grout. It holds up better in wider joints and resists shrinking. However, some mention that it can scratch softer tile surfaces if not handled carefully.
4. Unsanded Grout
This is typically used for narrow joints and smoother tile surfaces.
Pros and Cons
| Pros | Cons |
|---|---|
| Smooth finish | Less durable outdoors |
| Easy to apply | Not ideal for wide joints |
| Good for small gaps | |
| More prone to cracking |
Real User Feedback
Most professionals avoid unsanded grout for outdoor use unless the joints are very small. Users report cracking and wear when used in larger or exposed areas.
5. Pre Mixed Grout
Pre mixed grout is convenient but often not designed for harsh outdoor environments.
Pros and Cons
| Pros | Cons |
|---|---|
| Easy to use | Limited durability outdoors |
| No mixing required | Expensive for performance level |
| Consistent texture | |
| Not ideal for heavy exposure |
Real User Feedback
Users appreciate the convenience, especially for small repairs. However, many mention that performance outdoors is not as reliable as other options, especially in high moisture conditions.
Pre Mix Grout |
|---|
 |
How to Apply Outdoor Grout Properly
Even the best grout will fail if applied incorrectly. This is one of the most common reasons outdoor tile projects do not last.
Step by step process:
- Prepare joints properly
Remove dust, debris, and excess adhesive. - Mix grout correctly
Follow manufacturer instructions closely. - Apply using a grout float
Work diagonally across joints for full coverage. - Pack joints firmly
Ensure no gaps or air pockets remain. - Clean excess grout
Use a damp sponge without pulling grout out. - Allow proper curing time
Protect from rain and moisture during curing. - Seal if required
Cement based grouts need sealing for outdoor durability.
Buying Guide: Choosing the Right Grout
Consider joint width
Wider joints require sanded or stronger grout types.
Evaluate climate conditions
In humid or rainy areas, waterproof or sealed grout is essential.
Tile type
Some tiles require smoother grout to avoid scratching.
Maintenance preference
Epoxy requires less maintenance but is harder to install.
Budget
Higher quality grout costs more upfront but reduces long term repairs.
if you need to know more about the chemicals for flooring, visit posts HERE.
Common Mistakes to Avoid
- Using indoor grout outdoors
- Skipping sealing for cement based grout
- Poor mixing or incorrect water ratio
- Not allowing proper curing time
- Choosing based only on price
Final Thoughts
Grout might seem like a small part of an outdoor tile project, but it plays a major role in durability. It holds everything together, absorbs movement, and protects the installation from moisture.
If you want maximum durability, epoxy grout is the strongest option available. For a balance between performance and ease of use, polymer modified cement grout works well when sealed properly.
The key is not just choosing the right grout, but also applying it correctly and maintaining it over time.
Do that, and your outdoor tile project will not just look good. It will stay solid for years.
Disclaimer
This content is based on information from various sources and represents recommendations according to available data. Quality and correctness of products are the responsibility of manufacturers and sellers.
Leave a Reply