Using the right floor sealer the correct way makes the difference between long-term protection and costly surface damage.
Whether you’re sealing natural stone, tile, or other porous flooring, proper application ensures durability, stain resistance, and a professional finish.
This guide explains how to choose the right sealer, test its quality, apply it correctly, and fix common issues like streaking.
Choosing the Right Sealer for Your Floor
Always select a sealer based on your flooring material.
For example:
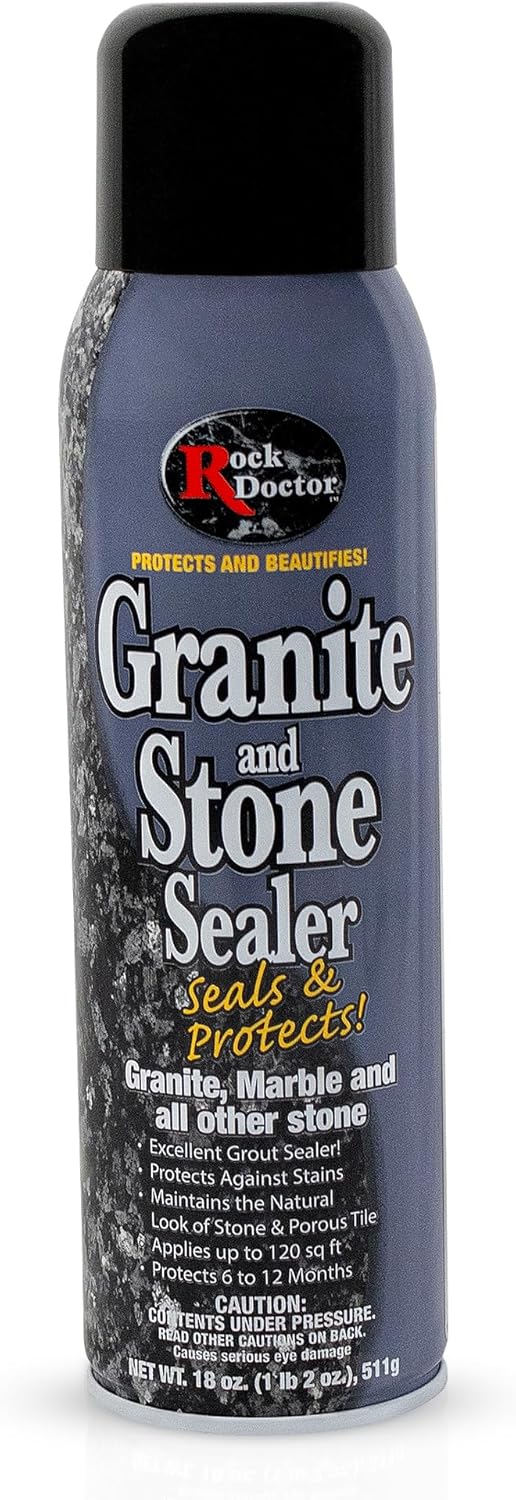
- If you have natural stone flooring, choose a stone-specific penetrating sealer.
- Avoid surface sealers for natural stone — they tend to wear off, flake, or peel over time.
- Porcelain or ceramic tile may require a different type of sealer (often for grout only).
If you like to see how you can sealing slate floors you can study this post.
Why Penetrating Sealers Are Better for Natural Stone
Penetrating sealers:
- Absorb into the pores
- Protect from within
- Maintain a natural look
- Last longer than surface coatings
Surface sealers sit on top and can break down more easily, especially in high-traffic areas.
Ensure Proper Ventilation Before Sealing
Before applying any sealer:
- Make sure the area is well ventilated.
- Open windows and doors.
- Use fans if necessary.
This is especially important when using penetrating sealers, as they may release strong vapors during application.
Sealers are different from polyster resins from functions and use, to know more about polyester you can visit this post.
How to Test a Sealer Before Full Application
Never seal the entire floor without testing first.
Step 1: Small Area Test
Apply a small amount of sealer on a hidden section of the floor.
Let it sit for 24 hours.
This allows you to evaluate:
- Final appearance
- Surface finish (matte, natural, enhanced)
- Absorption quality
- Compatibility with your floor
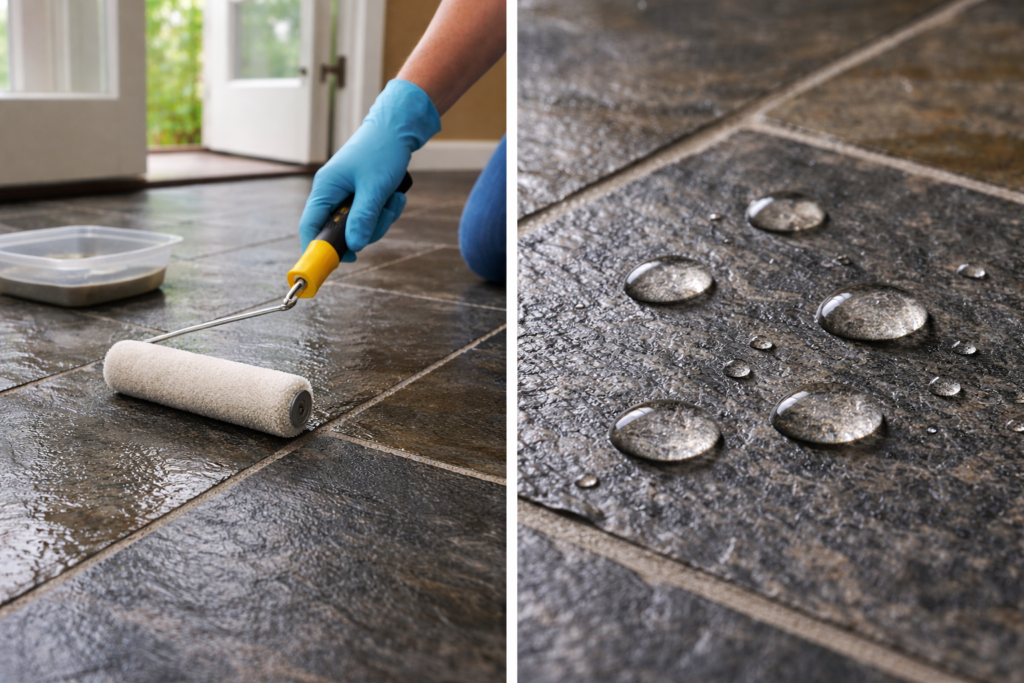
How to Test Sealer Quality (Water Drop Test)
After 24 hours:
- Pour a few drops of water onto the sealed surface.
- Wait 5–10 minutes.
- Check the surface.
Results Interpretation:
- If water beads up and the surface remains dry → Good quality seal.
- If the water absorbs within 5 minutes → the sealer is not performing well. Consider choosing a better product.
This simple test confirms whether the pores are properly protected.
How to Apply Floor Sealer Correctly
Tools You Can Use:
- Soft cloth (ideal for small areas)
- Paint roller (for larger surfaces)
- Soft brush (for even application)
Application Steps:
- Apply a moderate amount of sealer.
- Ensure the surface pores are fully saturated.
- Do NOT over-apply.
- Spread evenly across the surface.
Over-applying sealer can cause buildup and surface defects.
Remove Excess Sealer Immediately
If sealer creates raised or uneven areas on the surface:
- Wipe them off before they dry.
- Dried buildup can cause visible stains or cloudy patches.
If excess sealer has already dried:
- Use a dry cloth or a stiff brush to remove the residue.
How Many Coats of Sealer Are Needed?
Always check the manufacturer’s instructions.
However:
- Most porous surfaces require at least two coats.
- Highly absorbent natural stone may require more.
Allow each coat to fully dry before applying the next one.
Proper Drying Time Matters
After final application:
- Allow sufficient curing time before walking on the floor.
- Avoid rushing the drying process.
If sealer dries too quickly, it may:
- Create streak marks
- Crack
- Appear uneven
Proper curing ensures a smooth, uniform finish.
How to Remove Sealer Streaks
If streaks appear on the surface:
- Reapply a thin layer of sealer over the streaked area.
- Immediately wipe with a soft cloth.
- Lightly cover the area to slow down drying.
Slower drying reduces streak formation and improves leveling.
This is one of the simplest and most effective ways to fix streak issues.
Sealer | Sealer |
|---|---|
 |  |
Home use sealer | Home use sealer |
Leave a Reply