As i observe in many projects When installing natural stone pavers in patios, walkways, or backyard hardscape projects, one of the most important yet often overlooked decisions is the type of joint sand used between the stones.
Two of the most common options are masonry sand and polymeric sand. While both materials serve the purpose of filling joints and stabilizing pavers, they perform very differently in terms of durability, maintenance, cost, and long-term performance.
Choosing the wrong type of sand can lead to problems such as:
- weed growth between pavers
- erosion after heavy rain
- shifting stones
- insect nests forming in joints
For homeowners and contractors installing natural stone pavers using a dry installation method, understanding the difference between these two materials is essential.
I on this guide explore the real-world differences between masonry sand and polymeric sand, including pros and cons, installation methods, feedback from contractors and homeowners, and practical advice for choosing the best option for your project.
Understanding the Role of Joint Sand in Paver Installation
Before comparing materials, it’s important to understand why joint sand is necessary.
Joint sand performs several key functions in a paver system:
- Locks pavers together to prevent shifting
- Distributes loads across the surface
- Prevents weed growth in the joints
- Improves drainage between stones
Without proper joint material, even a well-installed patio can begin to move or deteriorate over time.
What Is Masonry Sand?
Masonry sand is a fine, washed sand commonly used in construction, particularly in brickwork, mortar mixes, and general masonry applications.
It is sometimes referred to as:
- washed sand
- plaster sand
- brick sand
In paver installations, masonry sand is often used as a traditional joint filler.
Contractors have used this material for decades because it is inexpensive and widely available.
However, its performance depends heavily on proper installation and maintenance.
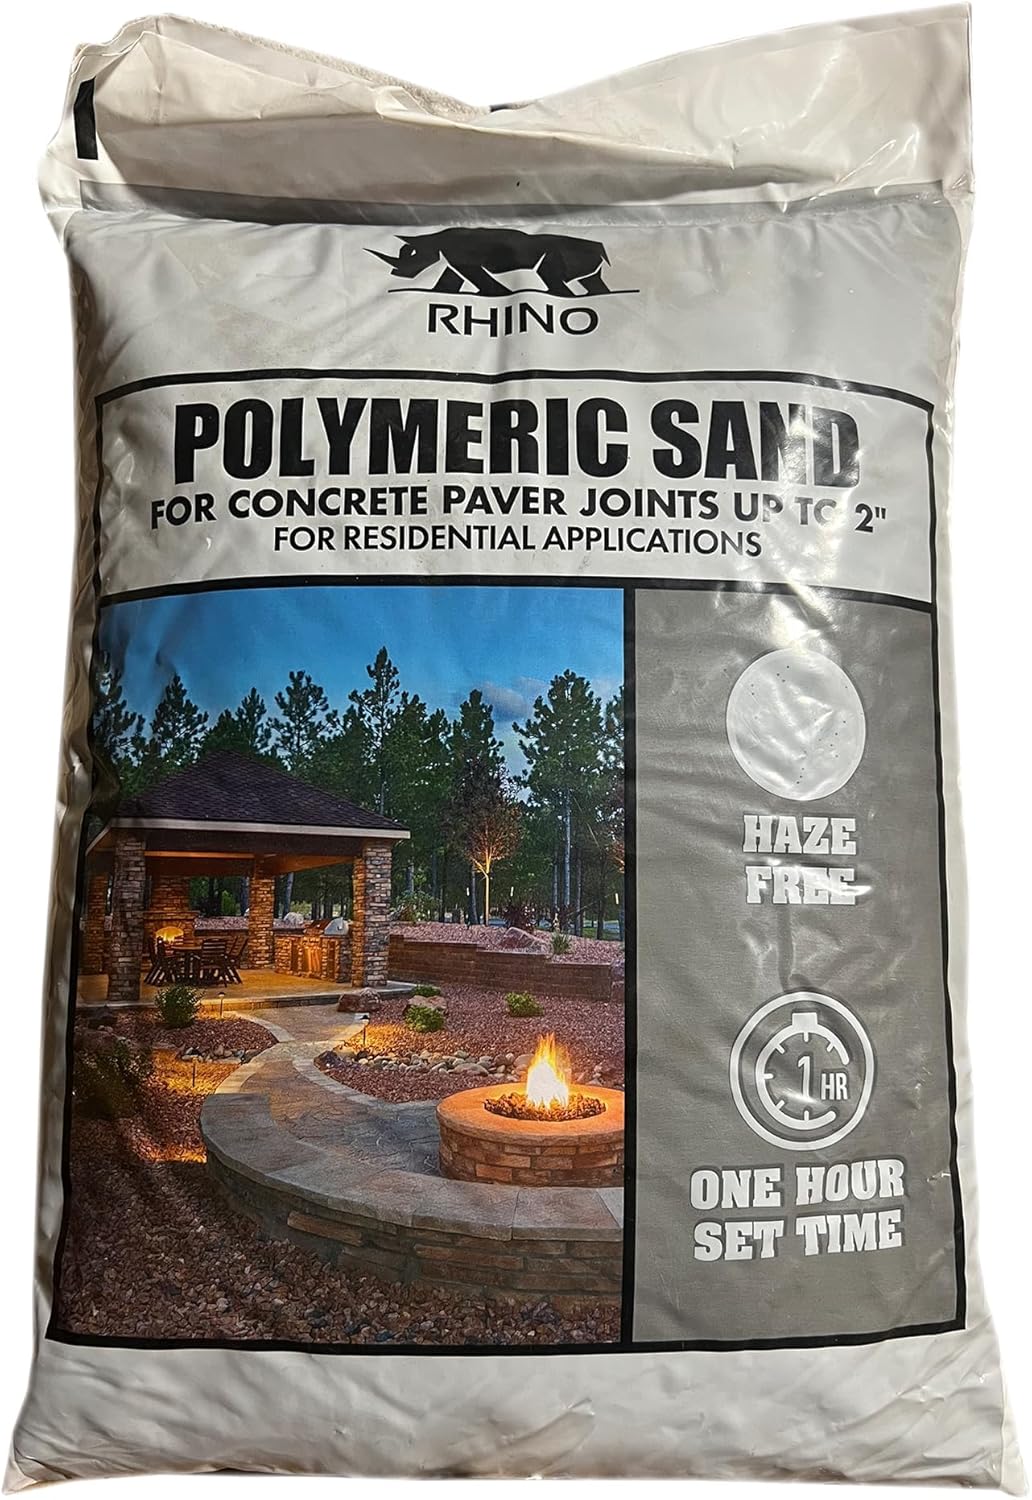
What Is Polymeric Sand?
Polymeric sand is a specialized joint sand that contains binding polymers.
When water is added, the polymers activate and cause the sand particles to harden and bind together, forming a semi-solid joint.
This creates several advantages compared with traditional sand.
Polymeric sand was developed specifically for interlocking paver systems and has become increasingly popular for residential landscaping projects.
Masonry Sand | All Purpose Sand |
|---|---|
 |  |
Check on Amazon | Chack on Amazon |
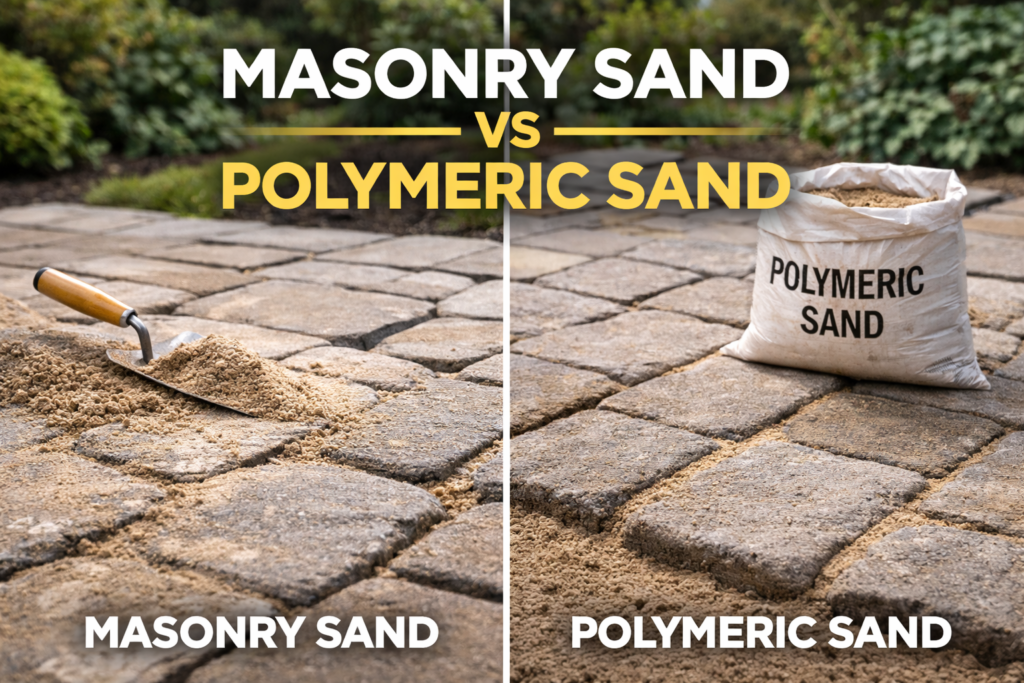
Key Differences Between Masonry Sand and Polymeric Sand
Although both materials look similar when dry, they behave very differently once installed.
Polymeric sand creates rigid joints, while masonry sand remains loose and flexible.
This difference affects everything from weed growth to maintenance requirements.
Below is a detailed comparison of the two materials.
Pros and Cons Comparison
| Feature | Masonry Sand | Polymeric Sand |
|---|---|---|
| Cost | Low cost and widely available | Higher price due to polymer additives |
| Installation Difficulty | Very easy to install | Requires careful installation and watering |
| Weed Resistance | Weeds may grow over time | Significantly reduces weed growth |
| Erosion Resistance | Can wash out during heavy rain | Strong resistance to rain and erosion |
| Joint Stability | Pavers may shift slightly | Locks pavers more firmly in place |
| Maintenance Needs | May require refilling periodically | Longer-lasting joints |
| Drainage | Excellent drainage | Still drains but slightly less permeable |
| Repair Flexibility | Easy to remove and replace | Harder to remove once hardened |
This comparison shows that both materials have their place depending on the project.
Real User Feedback from Contractors and Homeowners
Looking at online contractor forums, landscaping groups, and homeowner reviews reveals some consistent experiences with both materials.
Feedback on Masonry Sand
Many DIY installers appreciate masonry sand because it is simple and forgiving.
Common positive comments include:
- easy to sweep into joints
- affordable for large patio projects
- simple to repair if pavers need adjustment
However, several recurring complaints appear in homeowner discussions.
Users often mention:
- weeds growing between joints after a few seasons
- sand washing away after heavy rain
- ants or insects building nests in loose sand joints
Contractors frequently explain that these issues are common when joint sand is not stabilized properly.
Feedback on Polymeric Sand
Polymeric sand generally receives strong reviews from professional installers.
Common advantages mentioned in reviews include:
- joints stay intact after storms
- weeds are significantly reduced
- patio looks cleaner and more finished
Many homeowners also report that polymeric sand makes patios feel more solid underfoot.
However, the material is not perfect.
Common complaints include:
- improper installation can cause haze on pavers
- difficult to remove if mistakes occur
- higher cost compared with regular sand
Experienced contractors often emphasize that installation technique is critical with polymeric sand.
Polymeric Sand | Sand & Resin-Mix |
|---|---|
 | 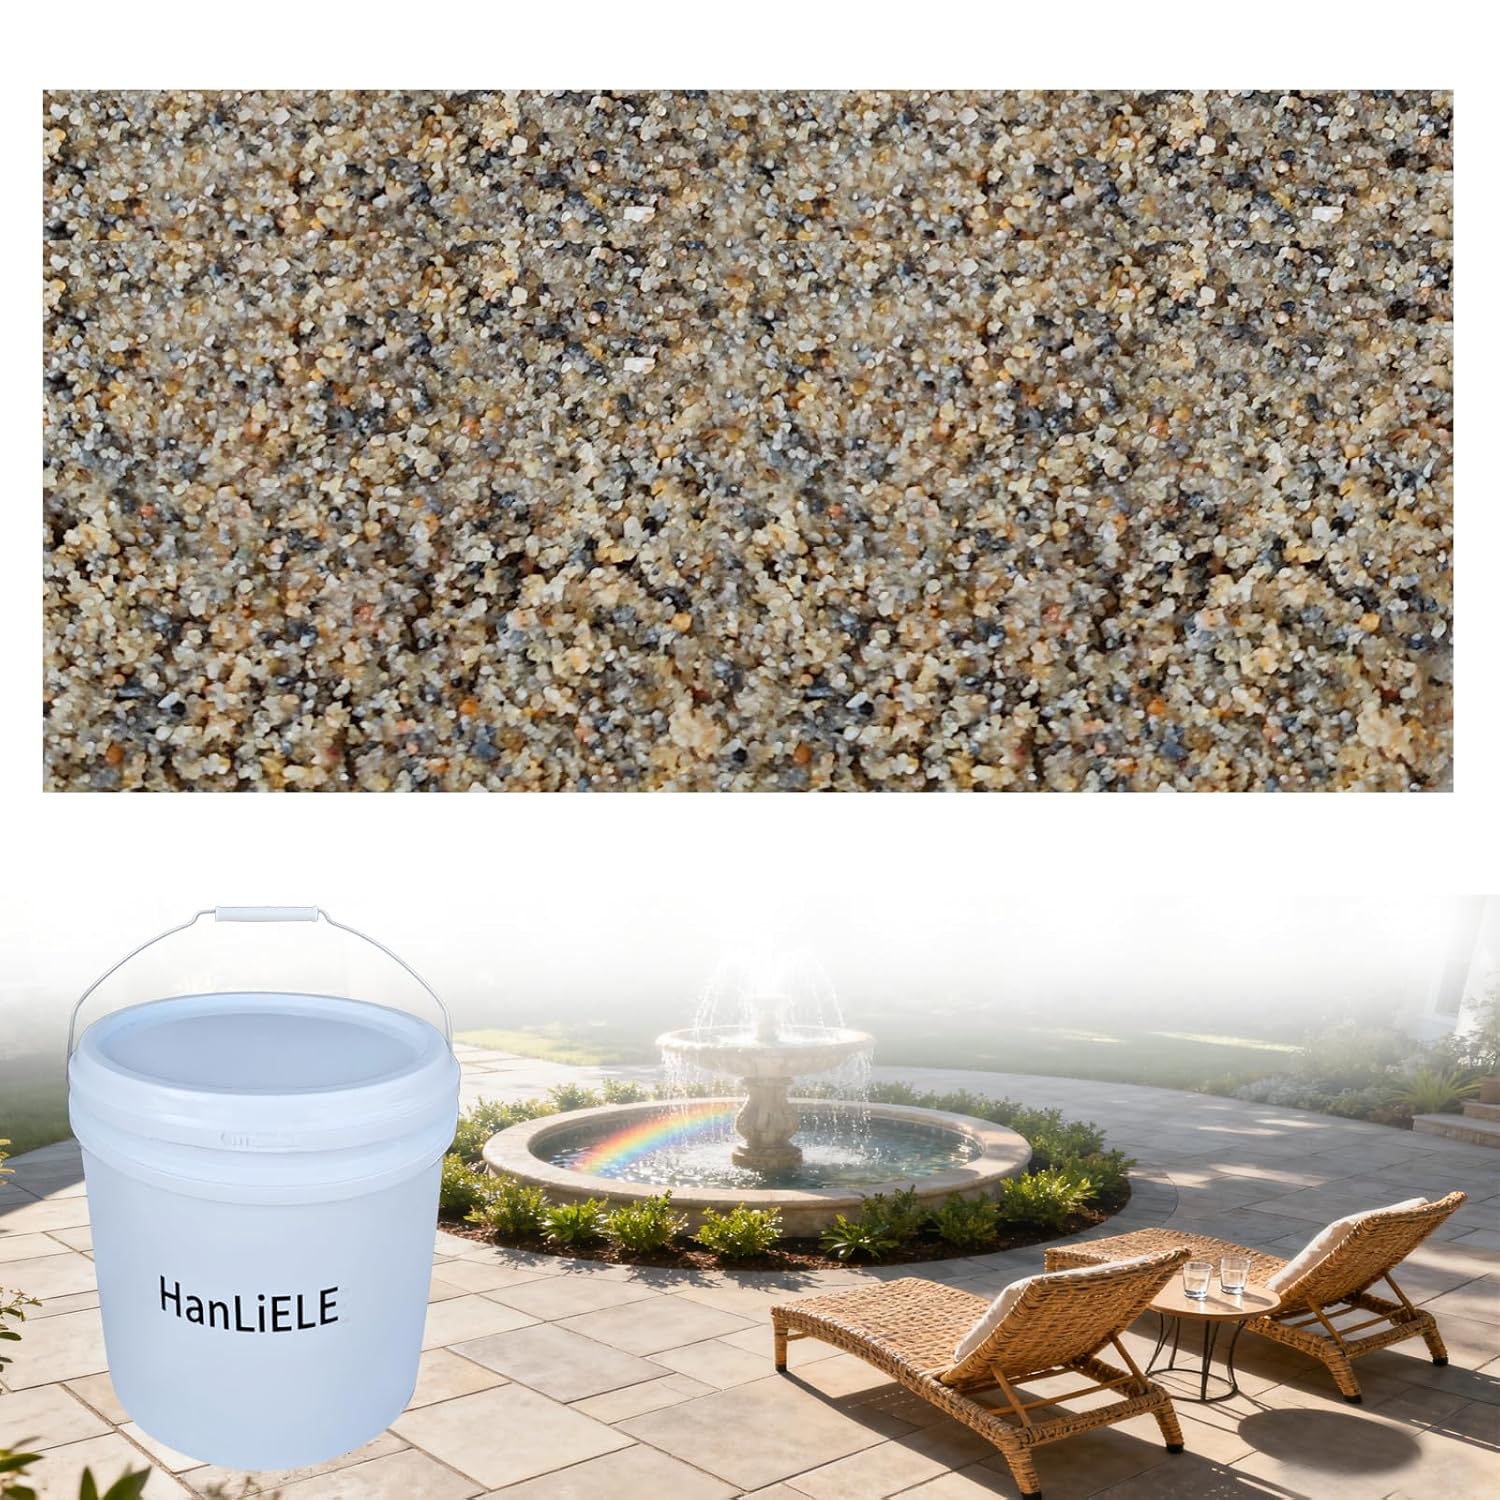 |
Check on Amazon | Check on Amazon |
How to Install Masonry Sand in Natural Stone Pavers
Masonry sand installation is relatively straightforward.
Step 1: Install the Paver Base
A typical base includes:
- compacted crushed stone
- bedding sand layer
- natural stone pavers placed on top
The joint sand is applied only after pavers are laid.
Step 2: Spread Sand Across the Surface
Pour masonry sand over the pavers and sweep it across the surface.
A push broom works best for distributing sand evenly.
Step 3: Fill the Joints
Continue sweeping until the joints between stones are completely filled.
This process may need to be repeated several times.
Step 4: Compact the Pavers
Using a plate compactor helps settle the sand deeper into the joints.
After compaction, more sand may need to be added.
Step 5: Clean the Surface
Remove excess sand from the paver surface.
The patio is ready for use immediately.
How to Install Polymeric Sand for Stone Pavers
Polymeric sand installation requires more precision.
Step 1: Ensure Pavers Are Dry
Polymeric sand must be installed when the surface is completely dry.
Moisture can cause the sand to activate too early.
Step 2: Sweep Sand into Joints
Use a broom to fill the joints fully.
All gaps should be packed tightly.
Step 3: Remove Excess Sand
Before activating the sand, thoroughly remove all loose material from the paver surface.
Leftover sand can create a visible haze after curing.
Step 4: Activate with Water
Lightly mist the surface with water.
The water activates the polymers that bind the sand together.
Too much water can wash the polymers away, so controlled watering is important.
Step 5: Allow Time to Cure
Polymeric sand typically requires 24 hours to cure before heavy use.
During this time, the joints harden and stabilize.
You can find more detailed for best way to use dry instalation for apver on this POST HERE.
Buying Considerations Before Choosing Joint Sand
When deciding between masonry sand and polymeric sand, several factors should be evaluated.
1. Climate Conditions
Areas with frequent heavy rain may benefit more from polymeric sand because it resists erosion.
In dry climates, masonry sand can perform well with proper maintenance.
2. Project Size
Large patios or driveways may require significant quantities of joint sand.
For large projects, the cost difference between masonry sand and polymeric sand can become noticeable.
3. Desired Maintenance Level
Homeowners who want a low-maintenance patio often prefer polymeric sand.
Those comfortable with occasional refilling may choose masonry sand to save money.
4. Type of Pavers
Some natural stone pavers have irregular shapes and wider joints.
Polymeric sand works best in joints that fall within the manufacturer’s recommended width range.
Very large gaps may require specialized joint materials.
5. Long-Term Durability
If the patio will receive heavy foot traffic or outdoor furniture, polymeric sand generally provides better long-term stability.
When Masonry Sand Is the Better Choice
Masonry sand is often a practical option when:
- working on small DIY patio projects
- installing irregular natural stone with wide joints
- keeping project costs low
- planning occasional maintenance
For traditional landscaping installations, masonry sand remains a reliable and widely used material.
When Polymeric Sand Is the Better Choice
Polymeric sand is usually preferred when:
- minimizing weed growth is important
- the patio receives heavy rainfall
- long-term durability is desired
- the installation is done by experienced installers
Many modern hardscape projects now use polymeric sand because it improves overall system stability.
If you like to check some tools related to polishing natural paver , you can check it HERE.
Short Review For best decision.
Both masonry sand and polymeric sand can work effectively for installing natural stone pavers, but they serve slightly different purposes.
Masonry sand remains a simple and cost-effective traditional solution, while polymeric sand provides improved durability and resistance to weeds and erosion.
For homeowners prioritizing low maintenance and long-term stability, polymeric sand is often worth the higher upfront cost. However, masonry sand continues to be a practical choice for many installations when properly maintained.
The most important factor in any paver project is still proper base preparation and correct installation technique. Even the best joint sand cannot compensate for an improperly prepared foundation.
Tamper | |
|---|---|
 |  |
Check Price on Amazon | Check Price on Amazon |
Keywords: polymeric sand vs regular sand, best sand for natural stone pavers, joint sand for pavers, installing stone pavers with sand, paver joint sand comparison, masonry sand for paver installation
Disclaimer:
This content is based on information from various sources and represents recommendations according to available data. Quality and correctness of products are the responsibility of manufacturers and sellers.
Leave a Reply